


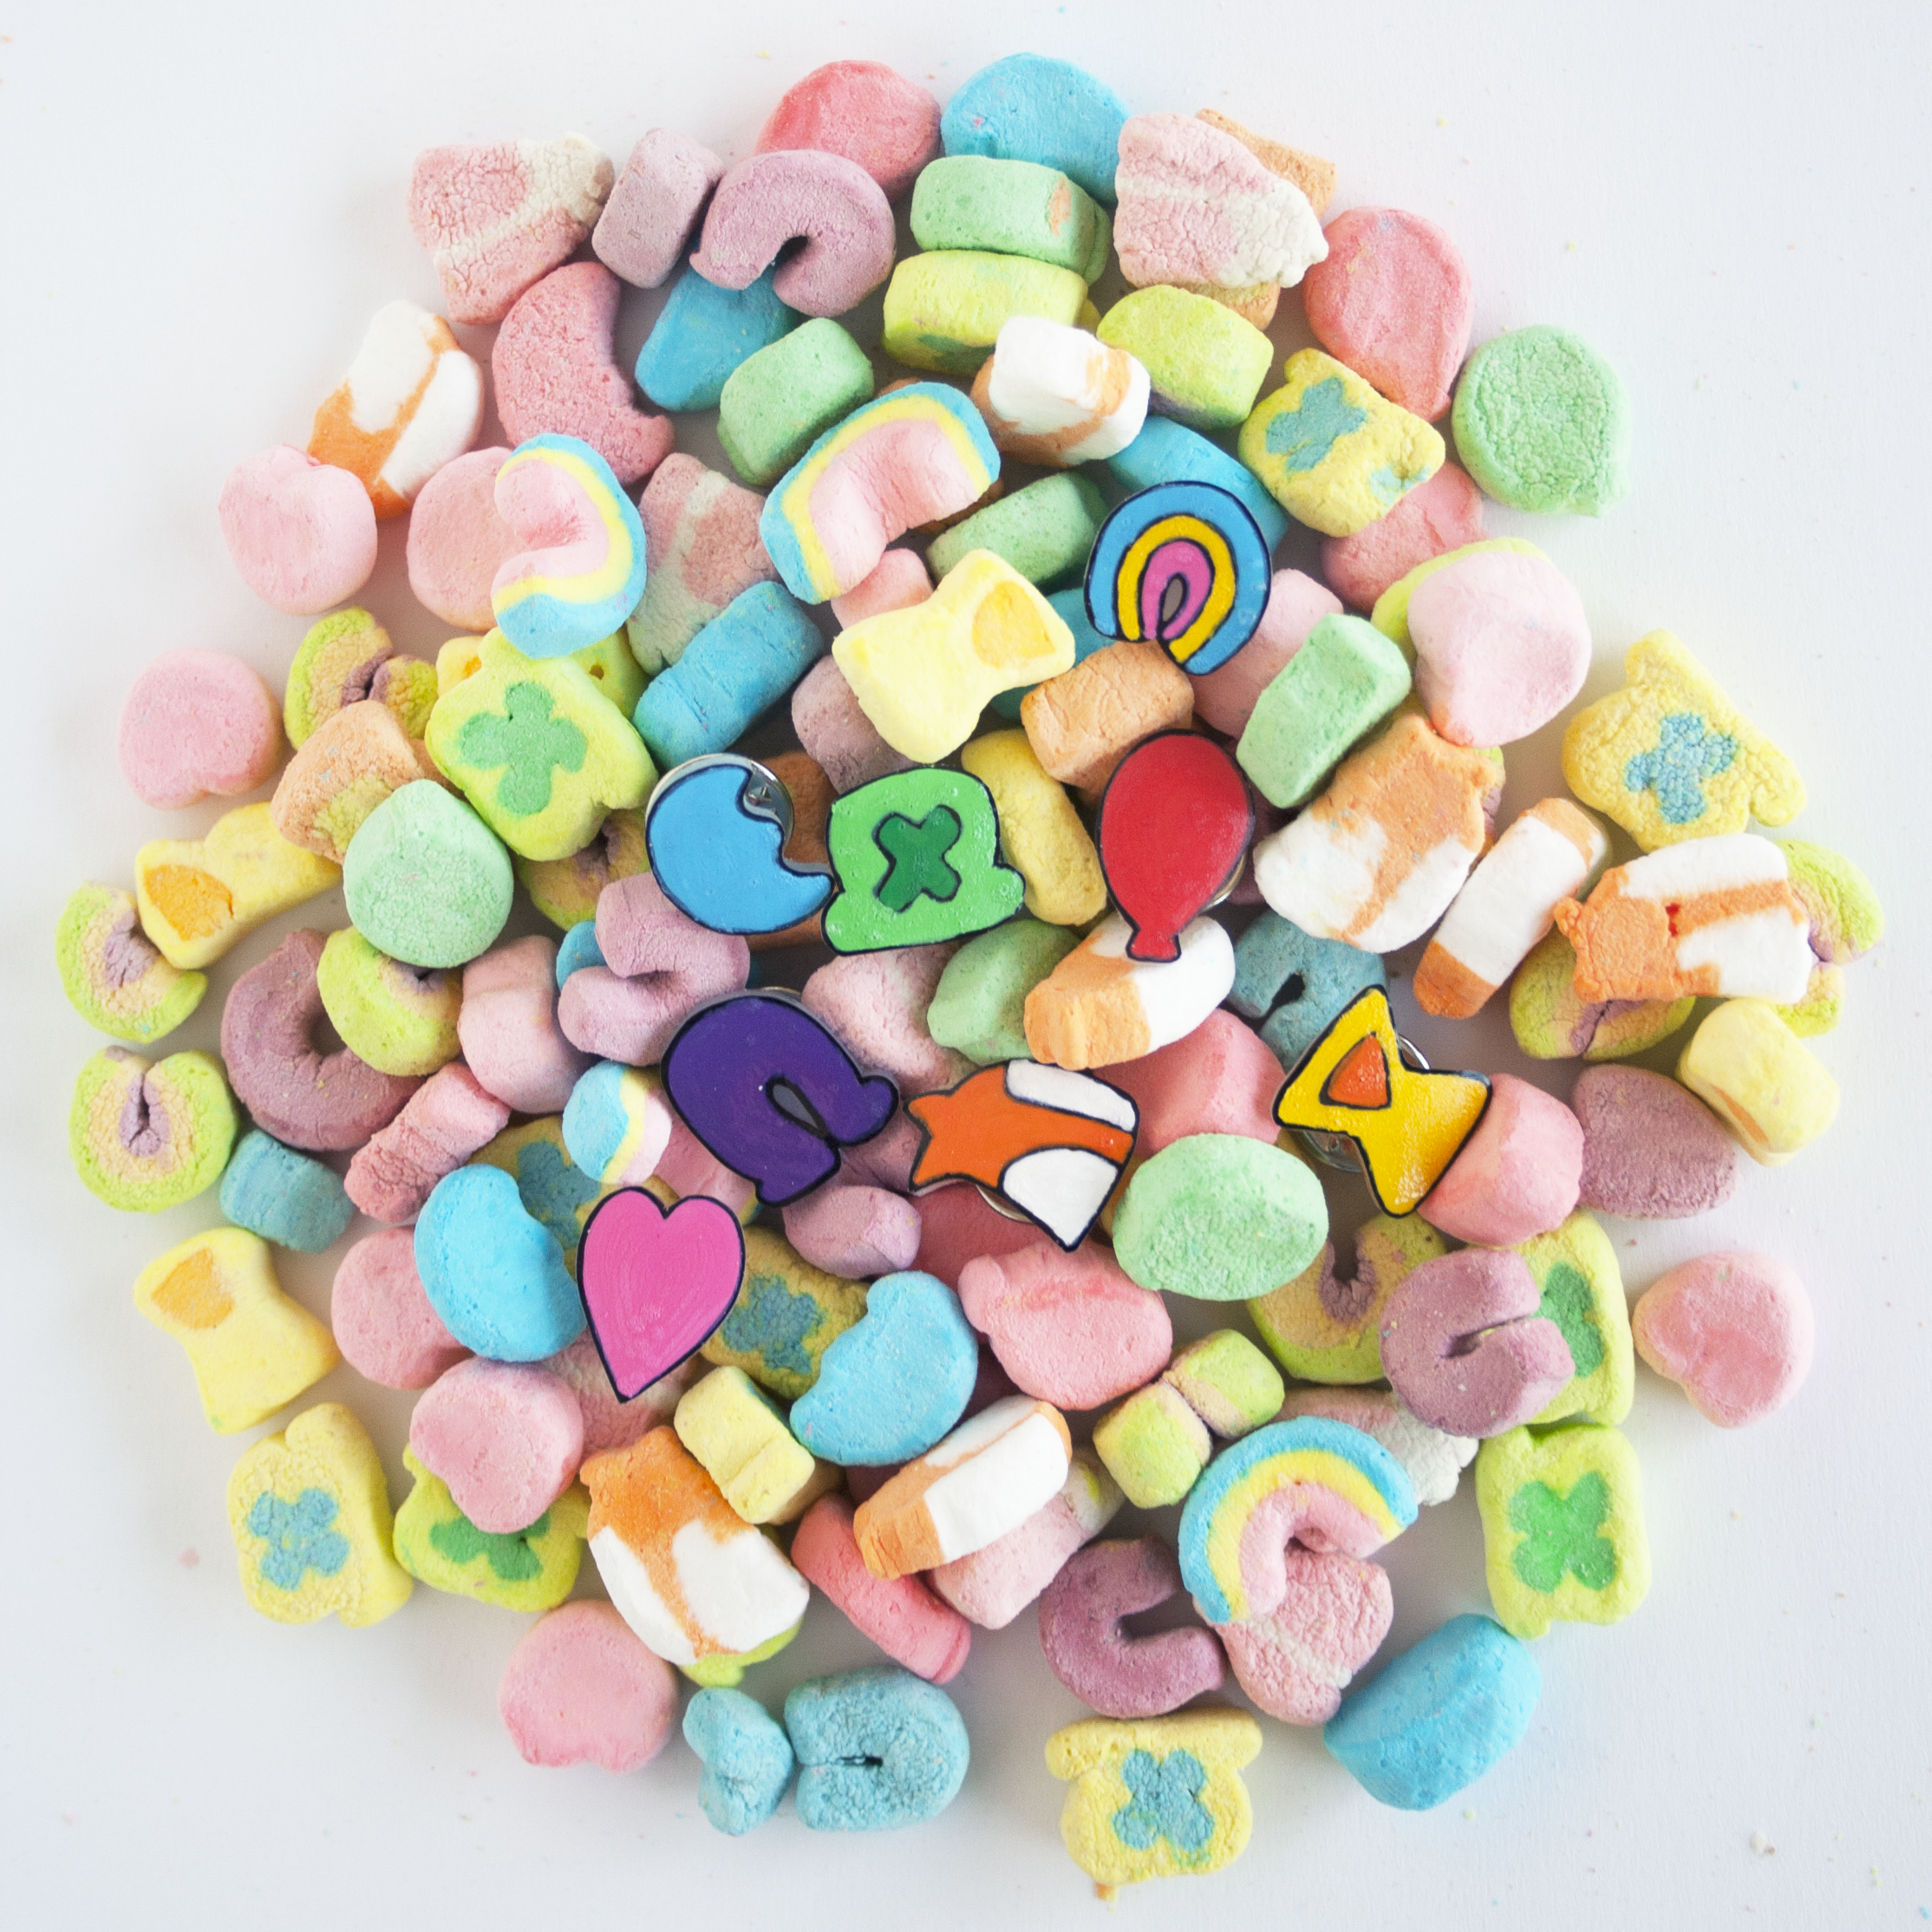
DIY Lucky Charms Pins
It's almost St. Patrick's Day! I don't know about you, but I could always use a Lucky Charm, or a very large amount of Lucky Charms.
Here's a simple DIY to always have a little luck on your side or at least your jacket.
WHAT YOU'LL NEED
matte shrink film
black Sharpie marker
paint markers
glaze
pin backs
super glue
Lucky Charms template

Preheat oven to 325 degrees F. Trace the Lucky Charms template onto the matte shrink film with a black Sharpie. Then color in with the paint markers.

Cut out the charms and place on a cookie sheet lined with parchment paper. Place in preheated oven for 3-4 minutes. Make sure you watch the whole time and take out once the pieces have flattened. They'll start warping at first, don't worry, that's what they're supposed to do.
Once they're done shrinking, take out of the oven and let completely cool. Once cooled, brush on a light layer of glaze and let dry 24 hours.

Once the glaze has dried completely. Take pin backs and super glue and glue on the backs. Let completely dry and there you go!
Now if you want, print out a pin card template, attach the pins and give out as gifts! I've included a template for Avery business cards and one with crop marks for you to be able to print off and trim yourself.


